So you have the free version of Elementor and now you are wondering how you will create a landing page. In this tutorial you will discover how to create a simple landing page that draws visitors into your website.
How to create a landing page with Element? First make sure you have a theme and hosting so you have a place to store the files. Elementor requires a theme but since you will use Elementor, grab whatever free them you want. Inside of WordPress click add page new and choose Elementor Canvas. Begin creating your landing page.
That explanation may seem very simple and if you want a more expanded version of it, see below. We will dive into the details of creating a landing page using Elementor. Note, this tutorial uses Elementor free with a free theme Blocksy. We will also include some details of using Elementor PRO which gives you more options.
What is a landing page?
Typically landing pages are pages that are used for building sales pages in most cases but can be used for event pages. These pages are typically not part of websites and are instead considered single or lone pages. These pages limit a customers choice and force them to decide on whatever you are pitching.
Good news is that you can build a landing page with WordPress cheaply. See below for some basic information involving the cost.
- Domain name: $10 (could be free with hosting)
- Hosting: $35/first year with Bluehost promotion
- Elementor: free
- Blocksy: free
- Total cost: $45/$35
As you can see, there isn’t a much cheaper way than WordPress for building landing pages. The great thing about this page is that you will have full control with no ads. This gives the most flexibility to someone who will put a little effort forth.
While this is a free article, this article will contain affiliate links to the services we talk about inside the article. These are our recommendations if you want to click the links, we thank you for your support.
Getting your hosting and Domain Name
Before you can start doing anything, you need a domain which points to a web hosting service. We have covered much of this in past articles so we will briefly discuss it before diving into creating the landing page which is the real goal of the article.
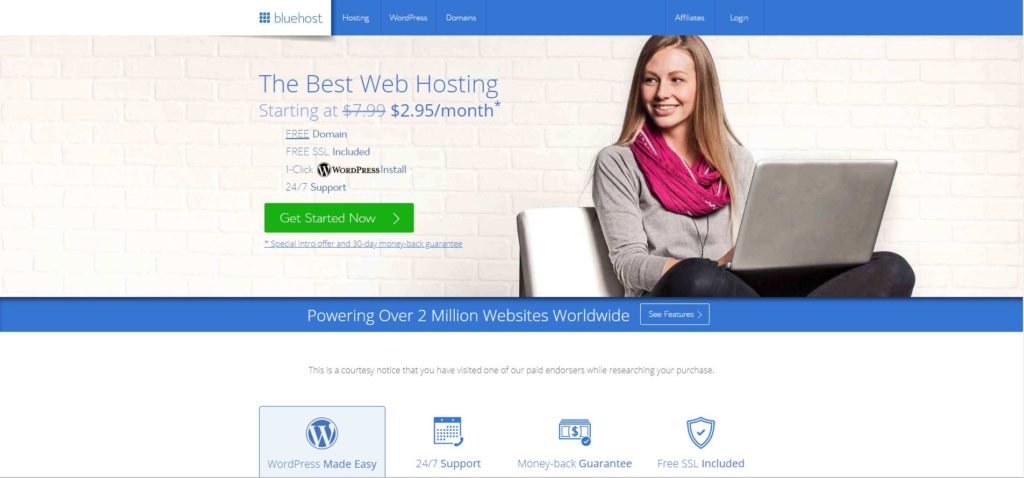
I recommend Bluehost if you are just starting out and need a web host that can handle your files. Bluehost is one of the better hosting companies for brand new people. We have an article here called what is a web host if you want some guidance.
Once you have your hosting and domain name, you can begin building your WordPress landing page. Inside of Bluehost there will be an area that you can click on to do what we call a 1 click WordPress install. If you want more help to install WordPress, we wrote an article on that.
After you have these two things setup and you can access your website, it’s time to build a landing page. For those people who have preexisting websites, you can just skip to the next section.
Installing Blocksy and Elementor

If you have never installed a plugin or theme the process is simple, I won’t waste a lot of time with fluff. You click the section called Appearance and search for Blocksy and install it. Under plugins you do the same thing, search Elementor and install it.
Once these two pieces of software have been installed you are ready to build your first landing page. But before we dive into designing on Elementor or Blocksy, there is still one more task you need to do.
The wrong way of designing a landing page
Many people before they ever start designing their landing page will just jump into Elementor or Blocksy and begin the process. I am here to tell you that this is the incorrect way of designing a landing page. The way you should design a page is to start with an idea and research.
Below we will dive into a small section explaining why you need an idea and research before you ever design a landing page. You are free to skip it but I can tell you sometimes it will make a difference.
Idea and Research the right way to build a landing page
One of the biggest mistakes that new web designers run into when they are building a website or landing page is that they open the plugin and just start creating. This is not only the wrong way to go about doing a landing page but it’s going to give you the least amount of results.
The right way to build a page is to spend some time searching the web finding examples of landing pages you like, taking the items from these pages and then building your own landing page which takes all the best ideas and combines them into one page.
Some people will draft ideas on paper, because I come from a graphic design background this is my preferred way. Other people might take notes, I like this; I hate this, don’t do this. Some might use a program like Evernote to keep screenshots. The point is there is no right way but skipping this step can lead you down a dangerous road of wasted time.
By developing what you like before you ever start designing you are making sure that everything has a place before moving into Elementor. This is one of the most important pieces because it will show you flaws later on as you move through the phases of web development.
It also helps you to identify client’s concerns which many or many not come up as you are visually designing the page. So if you learn any one thing from this article. Please do not skip this step, it is one of the most important.
Moving to Elementor and Blocksy
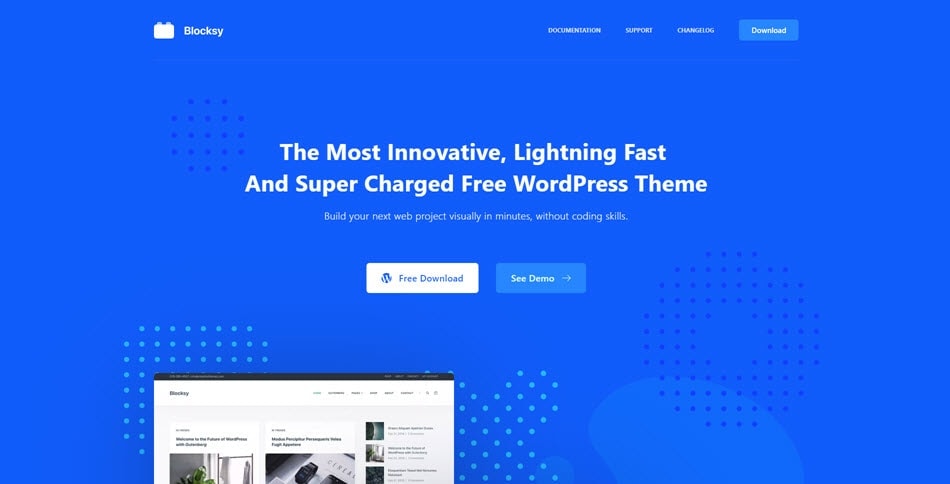
So why do we choose Blocksy as our go to for this tutorial is very simple. Elementor has several free themes that it works with such as OceanWP or GeneratePress. However, Blocksy is a new kid on the block and if you want to spend no money, then it offers some big advantages over the ones I just listed.
One of the biggest advantages is full header and footer control using a nifty system built-in to the customizer. Once again this is free, if you are using Elementor free you won’t have access to the full theme builder, so this can be a lifesaver.
If you are using the PRO version of Elementor, then you are well aware you can skip this step as you will have access to a full theme builder, meaning that it doesn’t matter what theme you use. If you want to learn more about Elementor, we reviewed it a while back.
Creating your landing page with Element
One big question you need to ask yourself with your landing page is do you want headers and footer or would you rather go with a very plain page. The advantages of this is that the landing page will force the user to make a decision which then can make the process much easier. Give users too many choices and they may leave your website completely.
For this tutorials sake we will assume that you are using some kind of header and footer. If not, simple skip the header and footer section to move on to the main page.
Building your header and Footer sections
I would recommend using Blocksy’s built-in options which can be located in appearance > customizer. From here you will need to follow the directions listed on their YouTube page to build your headers and footers. For the sake of simplicity, I won’t go into details about headers and footers, I think the videos listed above will help you better than I could explain.
Starting with your blank Canvas
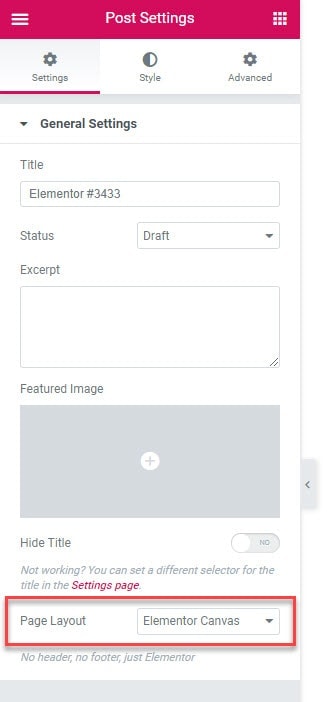
So if you made it this far then you are ready to create your landing page using Elementor. First you want to go into your pages or post menu depending on the page you want to create. Most people will use pages but you can make a landing page with a post.
Click to to add the new page, give it a name and then publish the page. I prefer to do this because it can stop any funny business from happening from the page not being saved later.
Click the button that says Edit with Elementor and begin the process.
Starting your landing page design
There are two very simple ways to frame out your landing page. Some people will go into the free elements from Elementor’s library and use those elements to get a close as possible to their vision. Or you can build what we call a wireframe.
A wireframe is very similar to the using the free elements but in it you are being less careless about how things look, the point is to get everything on the screen and then look at how it works together.
A great landing page has a few rules you should follow for doing them. Below are lists of the rules I would recommend that you not break on your landing page.
1. Keep the focus to one thing
Do not deviate from this on a website or landing page. Find one key action that you want the customer to take when they land on the page, that should be the driving force behind getting the customer to do what you want. If you try to focus on too many things, then it waters down the message and makes it harder to understand.
Remember, keep it simple stupid.
2. Always use social proof
It has been proven that on most Amazon pages, there is about 60% of the page content that is just nothing more than social proof. That should tell you that social proof is a driving force behind getting a person to buy anything. If you don’t prove things like quality, shipping time, customer service or questions the customer has then you are likely not to get the sale.
Social proof is a strong driver with people making sales which goes along with our next rule.
3. Give them a crazy guarantee
Offering someone 15, 30 or even 60 day trial has become the standard in anything we do. What about giving them a much stronger return policy like if you don’t make sales within the first 30 days using this, return it for a free refund. Strong return policies eliminate fear which also drives more sales.
4. Make sure you have a clear contact page
Having a strong customer service page is a signal to most people that the person trying to get you to buy something is a serious seller. Make sure you offer a page or section on the page that gives a contact form, phone number, email address, office address, etc. The less information you offer, the shadier your business becomes.
5. Make sure you have SSL installed
Customers have gotten very familiar with the fact that if a page doesn’t have SSL, then their data isn’t secure. If you plan to take credit cards or any other customer information from your landing page, then you will need to offer the customer the ability to have a secure payment transaction, otherwise they will leave.
6. Always create your landing pages with Skimming in mind
Most people on the web skim. They have done many surveys and found that a majority of people who land on websites skim through the content. To combat this, you will need to use things, like graphics, tables, and as much visual content to make the page easier to understand.
Sections of a great landing page
So now that you have rules down for a great landing page. Let’s begin with giving you an overview of sections you will want to include. While most landing pages are a combination of images and text there are still several sections that are pretty stands among web design.
Hero Section
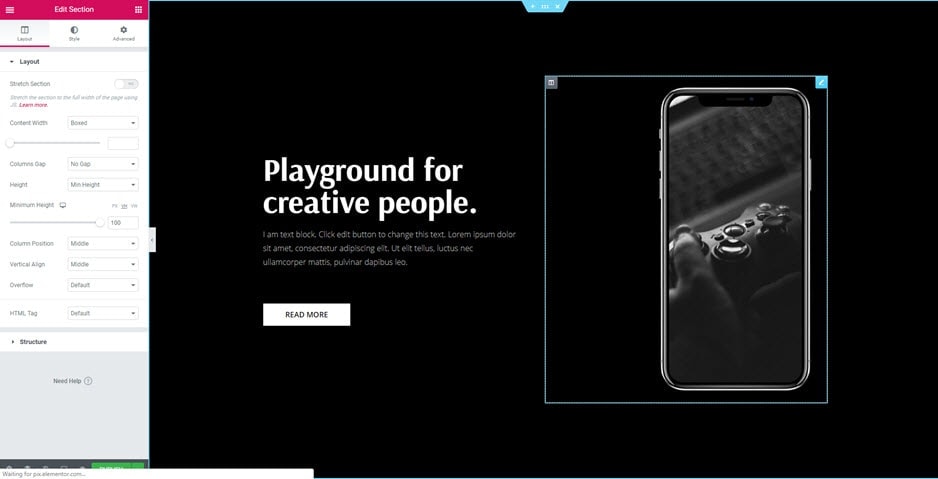
This is often a large image or video could be a background image that includes a bold header with some subtext underneath. The point of this is to give the person a quick synapsis of the page and also sometimes an offer.
Comparison Section
This portion of the page is a place where someone can compare their offer to others, often using things like graphics, charts or images to convey the information. Comparison sections work well for eliminating questions the person might have about the product or service.
Social Proof Section
You can do this some people use feedback with testimonials. Some will use some kind of review system that allows people who have purchased to leave feedback on the product or service. Just look at some pages and you will see many examples, pick the one that works best for you.
Call to Action Section
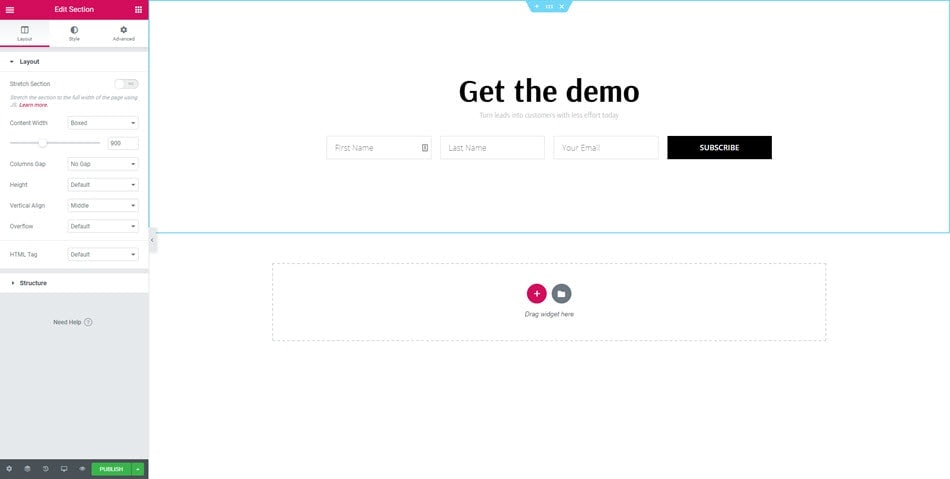
These sections often comprise the same message repeated down the landing page repeatedly. Call to action sections involve things like phone numbers and buttons which force you to buy at that point on the page. Sometimes they have colorful images to break up the large sections of text that the person is reading through.
FAQ Section
Almost every landing page I have ever seen has had an FAQ section which answers many of the common questions that people will ask about the product or service. If you add this, then you can expect that this will cut down on the number of emails you might get asking you about how something works or what your policies are.
Policy and Disclaimer
No landing page can be complete without legal jargon at the end explaining what your product or service does not cover. You may think this is pointless to add but many people will look and read the fine print when they are signing up for something. They want to trust you so the more transparent you are without being shady, the better.
Putting all of this together and what is next
So once you have selected these sections to include on your landing page then the next step is to put that page out. Click the publish button inside of the Elementor and from there the real fun begins.
Depending on your method for driving traffic to the website, it could be a newsletter, paid Facebook ads, or even organic traffic. Your next job is to test your content and tweak the page to find out weak spots in your content.
Have a customer ask you a question not on the FAQ, add it. Have a customer asking about a certain question, add it to the page. Customers asking for more payment options, consider other vendors.
Use customer feedback to drive the page to become the thing that your customers need, a resource.
Related Questions
How do you recommend backing up my pages to make changes? Inside of Elementor you have the option to save pages as templates, nothing wrong with saving each page and coming with up a naming convention so you can tweak them.
Can I do this with another theme? Sure, but many free themes don’t give you as many options as Blocksy does for customizing things like headers and footers. We can use any theme, I assumed the person had little to no money in this tutorial.
Conclusion
One last pro tip that I will leave you with before you create your very own Elementor landing pages. First, use the pro services out there as an example. Meaning you have a ton of professional and expensive landing pages that will give you free trials. Nothing wrong with signing up with a free trial and then recreating their landing page designs in Elementor.
I hope you have enjoyed this article, if you did and you want more Elementor content or WordPress content, please visit our website for more information.